
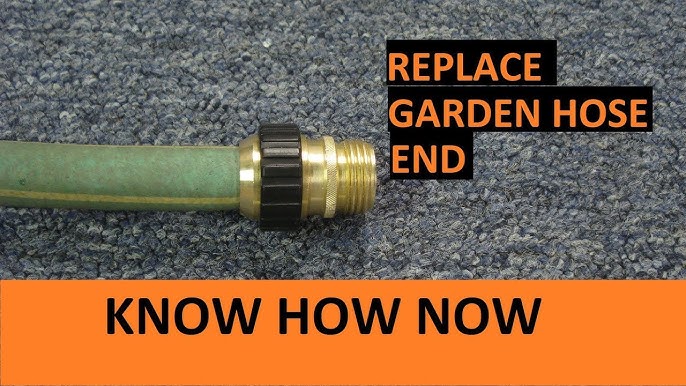
Imagine this: You’re out in your garden, ready to water your plants, and suddenly, your garden hose decides it’s had enough. The end of it is leaking or simply worn out, leaving you frustrated.
Sound familiar? Don’t worry; you’re not alone. Many people face this common issue, but the good news is that replacing your garden hose end is easier than you might think. In this guide, you’ll discover simple steps to fix your garden hose quickly, saving you time and money.
By the end, you’ll be equipped with practical tips and tricks, making you the go-to person for garden hose repair. So, whether you’re a seasoned gardener or just starting out, stick around and learn how to keep your garden thriving with a perfectly working hose.
Tools And Materials Needed
Replacing the end of a garden hose can seem daunting at first. But with the right tools and materials, it becomes a simple task. Proper preparation ensures a smooth process and saves time. You’ll need a few essential items to get started. Below, we outline the necessary tools and materials to have on hand.
Tools Needed
Gathering the right tools is the first step. You’ll need a pair of pliers. These help to grip and twist the hose end. A utility knife is also essential. It cuts through the old hose end with ease. Ensure the knife is sharp for a clean cut. A screwdriver might be needed if your hose end has screws. Check your hose end type to be sure.
Materials Required
Materials are just as important as tools. You will need a replacement hose end. Choose one that matches your hose size. Metal or plastic ends are available. Each has its benefits. Metal is more durable, while plastic is lighter. A hose clamp will secure the new end in place. Choose a clamp that fits snugly around your hose. If your hose end has washers, get new ones. They ensure a tight seal and prevent leaks.
Safety Gear
Safety is important when working with tools. Wear gloves to protect your hands. They prevent cuts and provide grip. Safety goggles are also a good idea. They protect your eyes from flying debris. Always work in a well-lit area. This helps you see clearly and avoid mistakes.
Credit: www.eleyhosereels.com
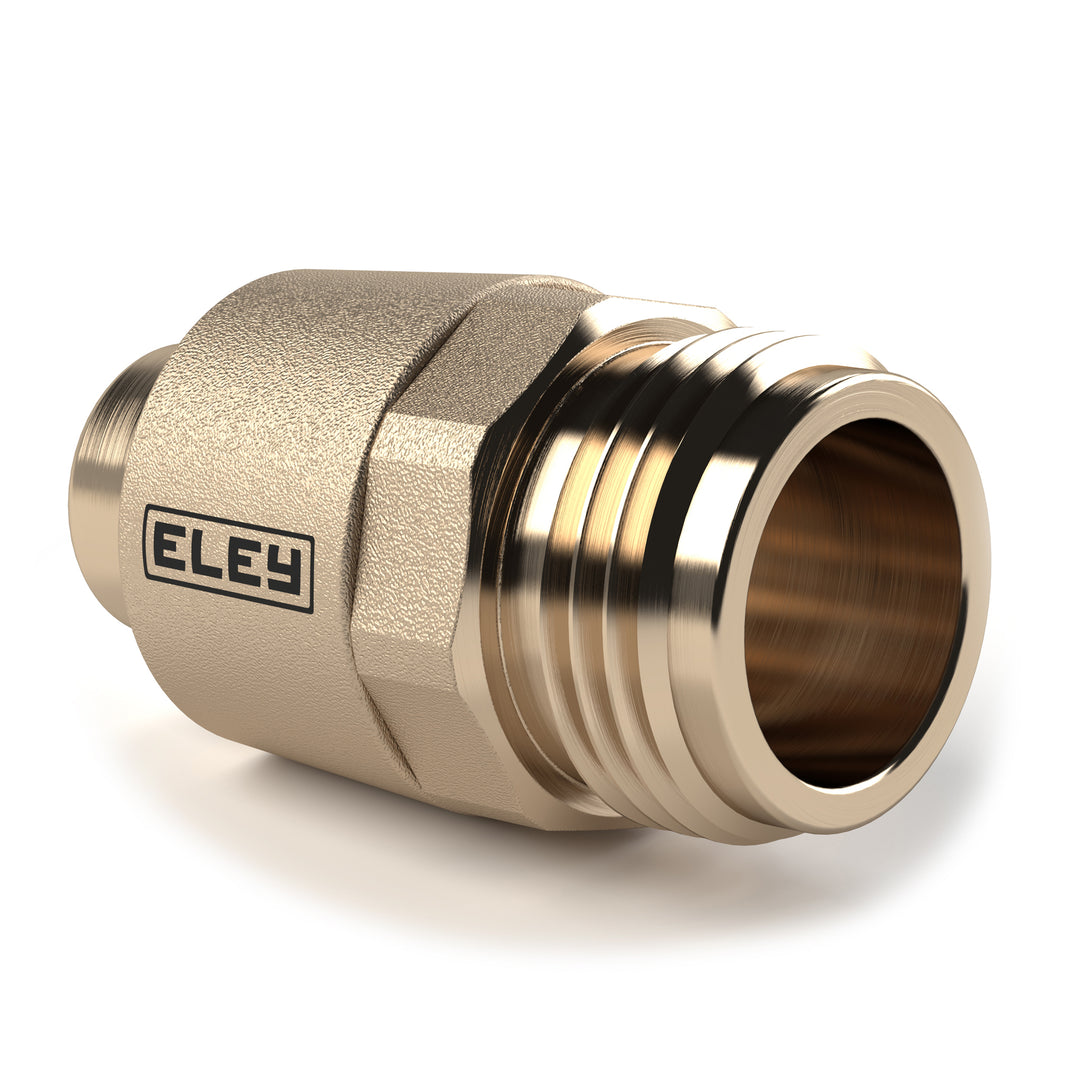
Choosing The Right Hose End
Replacing a garden hose end involves simple steps. First, cut off the damaged part. Next, attach a new fitting securely. Ensure it’s tight to prevent leaks. This quick fix keeps your garden hose functioning well, saving time and water.
Choosing the right hose end can make garden maintenance easier. The right fit ensures a snug connection and leak-free performance. Different materials and designs cater to varied needs. Understanding these differences helps you select the best option.
Material Matters
Hose ends come in brass, plastic, and aluminum. Brass is durable and rust-resistant. Plastic is lightweight but less durable. Aluminum balances weight and strength. Consider your climate and usage.
Thread Types
Check the thread type before buying a hose end. Standard sizes fit most hoses. Mismatched threads cause leaks. Always match the threads for a secure fit.
Grip Design
A comfortable grip eases usage. Look for ergonomic designs. Textured grips prevent slipping. Choose a design that feels good in your hand.
Flow Control Features
Some hose ends include flow control features. Adjustable valves help regulate water flow. This adds convenience and water efficiency. Consider these for more control over your watering tasks.
Preparing The Hose
Replacing a garden hose end might seem daunting, but it’s straightforward. Preparing the hose properly is crucial for a successful replacement. This involves inspecting it for damage and cutting it correctly. Let’s break down the steps.
Inspecting For Damage
Start by examining your hose. Look for cracks or leaks. Check the area where the hose end connects. If you see rust, it indicates a problem. Rust weakens the connection. Ensure the hose itself is still flexible. A brittle hose might need replacement.
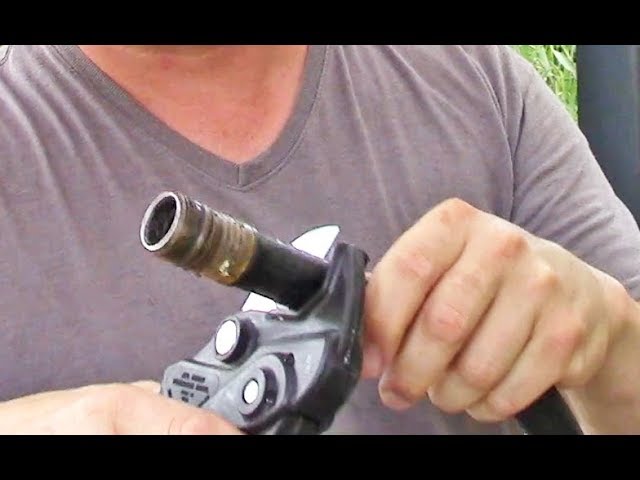
Cutting The Hose
Once you’ve inspected, the next step is cutting. Use sharp scissors or a utility knife. Cut the hose straight across. A clean cut ensures a snug fit. Measure twice before cutting. This prevents cutting too much and wasting the hose.
After cutting, smooth out the edges. This helps in attaching the new hose end. A smooth edge prevents leaks and ensures a tight seal.
Attaching The New Hose End
Attaching the new hose end is simple. Start by twisting the hose end clockwise onto the hose. Ensure it’s tight to prevent leaks. Use pliers if necessary for a secure fit. This step completes the hose replacement process efficiently.
Attaching a new hose end is essential for garden maintenance. It ensures a leak-free connection for efficient watering. This task can seem challenging, but it’s simple with the right steps. Clear guidance helps ensure a secure fit, preventing leaks and maximizing water flow. Let’s delve into the process of attaching the new hose end effectively.
Securing With Clamps
Clamps play a vital role in securing the hose end. Begin by sliding the clamp onto the hose. Make sure it’s positioned near the end. Insert the hose end fitting into the hose. Push firmly to ensure a snug fit. Once in place, slide the clamp over the fitting. Use a screwdriver to tighten it securely. Ensure the clamp is tight, but not overly so. This prevents damage to the hose. A well-secured clamp ensures a leak-proof connection.
Testing The Connection
Testing the connection is crucial for ensuring no leaks. Turn on the water supply slowly. Observe the connection point for any drips. If leaks occur, tighten the clamp slightly more. Ensure all parts are dry before checking again. A steady water flow without leaks indicates success. Testing confirms the hose end is properly attached. This step saves water and prevents future issues. Regular checks help maintain garden hose efficiency.
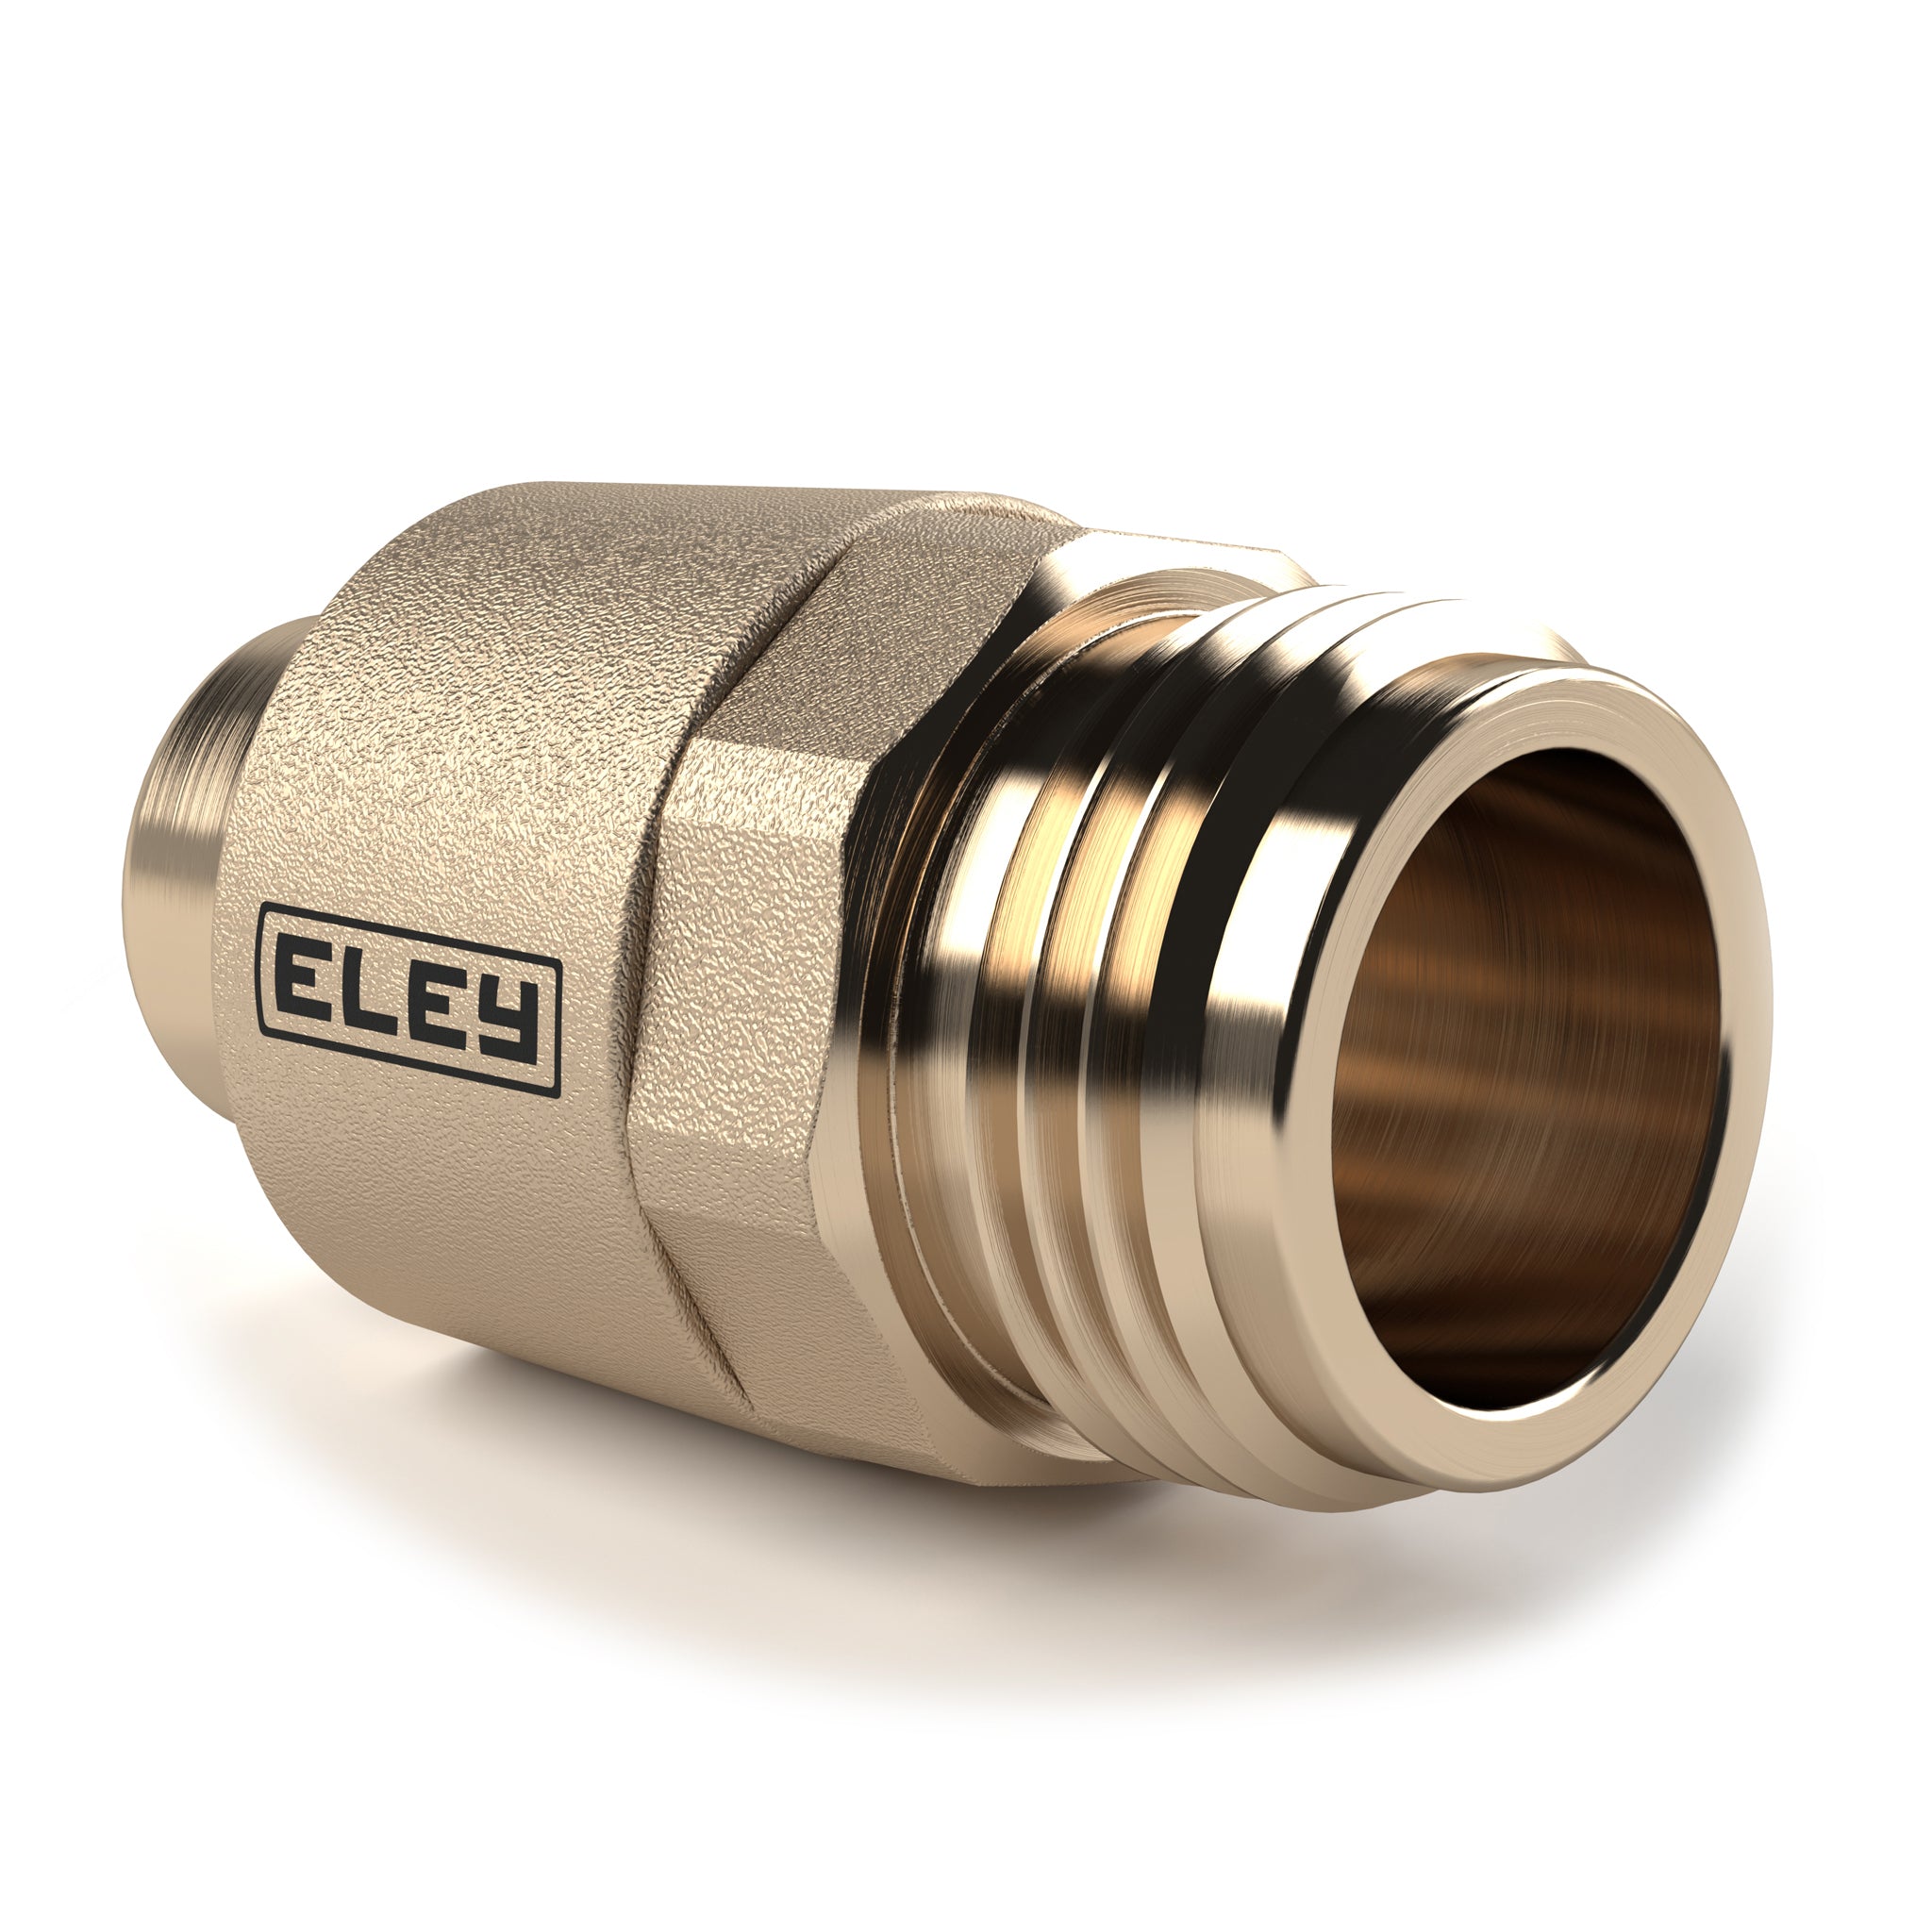
Troubleshooting Common Issues
Troubleshooting common issues with garden hose ends can save time and effort. Understanding the cause of problems helps maintain an efficient watering system. Whether dealing with leaks, drips, or poor water flow, a few simple steps can restore functionality.
Leaks And Drips
Leaks often occur due to worn washers or incorrect fittings. Check the washer inside the hose end. Replace it if it appears cracked or flattened. Ensure the hose end is tightly secured to the faucet or another hose. Loose connections may cause unwanted drips. Use pliers if hand-tightening isn’t enough. Inspect the hose itself for cracks or holes. Small damages can lead to significant leaks. Consider applying waterproof tape for temporary fixes.
Poor Water Flow
Poor water flow might result from blockages within the hose. Debris or mineral deposits could obstruct water passage. Detach the hose and flush it with water to clear any blockage. Check the hose end for any build-up or foreign materials. Clean it thoroughly using a brush. Examine the faucet or water source. Low water pressure can affect hose performance. Ensure the valve is fully open. Also, consider the hose length. Longer hoses might reduce water pressure. Use shorter hoses where possible for optimal flow.
Credit: www.eleyhosereels.com
Maintenance Tips
Maintaining your garden hose ensures it works well and lasts longer. Regular maintenance prevents leaks and damage. Here are some key tips to keep your hose in top shape.
Regular Inspections
Check your hose for cracks and leaks often. Small issues grow into big problems. Inspect the hose end connectors. Tighten or replace them if needed. Look for rust or corrosion on metal parts. Replace any damaged sections promptly. Regular checks help catch problems early.
Storage Suggestions
Proper storage extends your hose’s life. Store the hose coiled in a cool, dry place. Avoid direct sunlight and extreme temperatures. Use a hose reel for neat storage. This prevents kinks and tangles. Drain the hose before storing. Water left inside can freeze and cause damage.
Credit: www.youtube.com
Frequently Asked Questions
How Do I Remove The Old Hose End?
To remove the old hose end, first unscrew the connector. Use pliers if it’s stuck. Once loosened, twist off the end counterclockwise. Ensure the hose is dry to avoid slipping. If it’s damaged, cut it off cleanly with a knife.
Always wear gloves for protection.
What Tools Are Needed For Hose End Replacement?
To replace a hose end, you’ll need pliers, a utility knife, and a screwdriver. Pliers help in loosening stuck connectors. A utility knife ensures a clean cut. A screwdriver might be necessary for certain connectors. Having these tools handy ensures a smooth replacement process.
How Do I Attach A New Hose End?
Attach a new hose end by sliding it over the hose. Secure it by tightening the clamp with a screwdriver. Ensure the connection is snug to prevent leaks. Test the hose by turning on the water. Adjust if necessary to ensure a watertight seal.
Can I Use Any Hose End For Replacement?
No, not all hose ends are universal. Choose one that matches your hose size and type. Check compatibility by reading product labels. Using the wrong end can cause leaks or damage. Always opt for quality materials to ensure durability and a proper fit.
Conclusion
Replacing a garden hose end is simple and quick. Gather your tools first. Unscrew the old end carefully. Attach the new hose end securely. Test for leaks by running water through it. Fix any leaks by tightening the connection. Regular maintenance extends hose life.
A well-maintained hose ensures efficient watering. With these steps, your garden stays healthy and green. Remember to store your hose properly after use. This prevents kinks and damage. Enjoy your gardening with a reliable hose. Happy gardening!


