
Are you struggling with a weed eater that just won’t start because of a broken pull cord? Frustration mounts as your lawn grows wilder by the day.
But don’t worry! You can easily replace the pull cord and get back to tidying up your yard. This guide is designed with you in mind, offering simple steps that anyone can follow. Imagine the satisfaction of fixing it yourself, saving time and money, and knowing you’ve tackled this challenge head-on.
Keep reading to discover how you can replace a weed eater pull cord with confidence and ease.

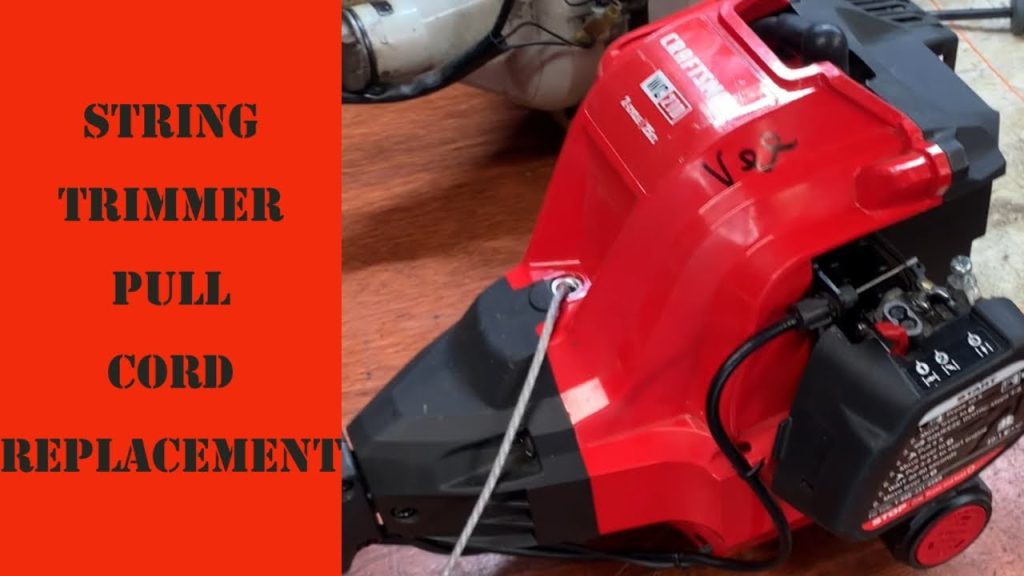
Credit: www.reddit.com
Essential Tools And Materials
Replacing a weed eater pull cord might sound daunting, but with the right tools and materials, it becomes a straightforward task. Imagine standing in your garden, ready to tackle the weeds, only to find the pull cord snapped. Instead of letting frustration take over, knowing exactly what you need can empower you to get back to work quickly.
Before you dive into the repair, gather these essential items. Having everything within reach will save time and keep your momentum going.
Screwdriver Set
A complete screwdriver set is crucial. Weed eaters often have various screws securing the housing and other parts. Ensure you have both Phillips and flathead screwdrivers, as models differ. A magnetic screwdriver can be a lifesaver when dealing with small screws that easily get lost in the grass.
Replacement Pull Cord
Not all pull cords are created equal. Measure the old cord to ensure you buy the right length and thickness. Choose a durable, high-quality cord to avoid frequent replacements. Imagine the frustration of having a new cord snap just when you need it most.
Needle-nose Pliers
Needle-nose pliers are perfect for gripping and maneuvering small parts inside the weed eater. Use them to hold the cord securely while threading it through tight spaces. They’re also handy for removing stubborn screws or nuts that won’t budge.
Utility Knife
A sharp utility knife is essential for cleanly cutting the replacement cord to size. A dull blade can fray the cord, leading to premature wear. A clean cut ensures the cord functions smoothly without any hiccups.
Safety Gloves
Protect your hands with sturdy gloves. Handling tools and parts can result in cuts or scrapes. Safety gloves offer a better grip and protect your skin, allowing you to focus on the task without worrying about injuries.
Think about this: Have you ever tried to fix something without the right tools and ended up frustrated? Having the right equipment not only makes the job easier but also more enjoyable. With these tools and materials ready, you’re set to tackle the pull cord replacement with confidence. What’s stopping you from getting your weed eater back in action?
Safety Precautions
Replacing a weed eater pull cord demands careful attention to safety. Disconnect the spark plug to prevent accidental starts. Wear gloves to protect your hands and ensure the equipment is stable before proceeding with the replacement.
Replacing a weed eater pull cord is a task that requires attention and care. Safety should be your top priority as you embark on this DIY project. With a few simple precautions, you can ensure that the process is both smooth and risk-free.
Ensure The Weed Eater Is Off And Unplugged
Before you even think about touching the pull cord, make sure the weed eater is completely off. Unplug it if it’s electric. If it’s gas-powered, remove the spark plug. This will prevent any accidental start-up. A small slip could lead to injury, so double-check to ensure it’s safe.
Wear Protective Gear
You might not think of protective gear for such a simple task, but it can make a big difference. Wear gloves to protect your hands from sharp edges and dirt. Safety glasses are also a smart choice to keep any debris or snapped cord pieces from hitting your eyes. Imagine the inconvenience of an eye injury just because you skipped this step.
Use The Right Tools
Having the right tools on hand not only makes the job easier but safer. You’ll need a screwdriver, pliers, and possibly a wrench. Using the wrong tool can lead to slips and injuries. Plus, it might damage your equipment. Have you ever tried to force a screw with the wrong screwdriver? It’s frustrating and risky.
Check Your Surroundings
Ensure your work area is well-lit and free of clutter. A tidy workspace reduces the risk of tripping or accidentally knocking over tools. If you’re working in a garage or shed, clear some space around the weed eater. How often have you stumbled over something you didn’t see? Avoid that by keeping your area clear.
Stay Focused
Keep distractions at bay when you’re working on replacing the pull cord. Turn off your phone or set it aside. A moment of distraction can lead to mistakes, which can be dangerous. Think about the last time you were distracted while working on something. Was it as efficient or safe as it could have been? By adhering to these safety precautions, you’ll be better prepared to replace your weed eater’s pull cord efficiently and safely. What other safety tips do you consider essential for DIY tasks?
Removing The Old Cord
Replacing a weed eater pull cord might seem tricky. But with a step-by-step approach, it becomes manageable. The first step is removing the old cord. This involves accessing the starter assembly and detaching the old cord. These tasks are straightforward. Let’s dive into the details.
Accessing The Starter Assembly
Start by locating the starter assembly on your weed eater. It’s usually covered by a plastic housing. Use a screwdriver to remove the screws. Keep these screws safe for reassembly. Once unscrewed, gently lift the cover. You’ll see the starter assembly underneath. This is where the pull cord is housed.
Detaching The Old Cord
Look for the knot securing the old cord to the assembly. Use pliers to loosen and remove the knot. Carefully pull the cord out from the starter assembly. Make sure no pieces of the cord remain stuck. Your starter assembly should now be free from the old cord.
Preparing The New Cord
Replacing a weed eater pull cord is a straightforward task. A crucial step involves preparing the new cord properly. This ensures the weed eater functions smoothly. Proper preparation prevents future issues. It also prolongs the life of the cord. Follow the steps below for a seamless replacement process.
Measuring The Correct Length
Start by measuring the old cord. Use it as a guide. If the old cord is missing, check the weed eater manual. It often lists the correct length. Measure the new cord carefully. Cut it using sharp scissors. Ensure the length matches the old one. A correct length guarantees smooth operation.
Securing The Cord Ends
Securing the cord ends is vital. Begin by tying knots at each end. The knots prevent unraveling. They also help attach the cord to the weed eater. Ensure the knots are tight. Loose knots may slip during use. Use a lighter to melt the ends slightly. This seals the ends. It prevents fraying and keeps the knots secure.
Installing The New Cord
Replacing a weed eater pull cord may seem difficult. But with a few steps, it becomes simple. Once you’ve removed the old cord, it’s time for the new one. This process involves threading the new cord through the pulley and securing it to the recoil spring.
Threading Through The Pulley
Start with the cord’s end. Thread it through the pulley hole. Ensure the cord is straight. A twisted cord won’t work well. Pull the cord until there’s no slack. This ensures it stays in place.
Securing To The Recoil Spring
After threading, secure the cord to the recoil spring. First, locate the spring’s hook. Tie the cord’s end to this hook. Use a strong knot. This prevents the cord from slipping out. Test the cord by pulling gently. It should retract smoothly.
Reassembling The Weed Eater
Reassembling your weed eater after replacing the pull cord is crucial. It ensures everything functions properly. A few simple steps can get your tool ready for action.
Reattaching The Starter Cover
Align the starter cover with the housing holes. Make sure the holes match up. Insert screws into the holes. Tighten them using a screwdriver. Check for any loose screws. The cover should sit firmly.
Testing The Pull Cord
Gently pull the cord to test its movement. It should retract smoothly. Listen for any odd sounds. A smooth pull indicates proper installation. If it sticks, recheck the assembly. Tug a few more times to ensure consistency. This confirms everything is in place.
Troubleshooting Common Issues
Replacing a weed eater pull cord can sometimes come with challenges. Troubleshooting common issues helps ensure a smooth repair process. Knowing what to look for saves time and effort. Let’s explore common problems and how to fix them.
Cord Not Retracting
A pull cord that won’t retract can be frustrating. First, check for any tangles. The cord should move freely. If tangled, carefully untwist it. Look for any debris in the housing. Dirt or grass can block the mechanism. Clean it with a brush or compressed air. Examine the recoil spring. It might be broken or loose. Replace or adjust if needed. Ensure the cord is not worn out. A frayed cord can get stuck. Change it if necessary.
Difficulty Starting The Engine
If the engine struggles to start, inspect the spark plug. A dirty plug can cause issues. Clean or replace it for better performance. Check the fuel supply. Old or contaminated fuel affects starting. Use fresh fuel for best results. Ensure the air filter is clean. A clogged filter limits airflow. This can hinder engine starting. Clean or replace the filter as needed. Finally, examine the pull cord itself. It should pull smoothly. A damaged cord may not provide enough force. Replace if it’s worn or frayed.
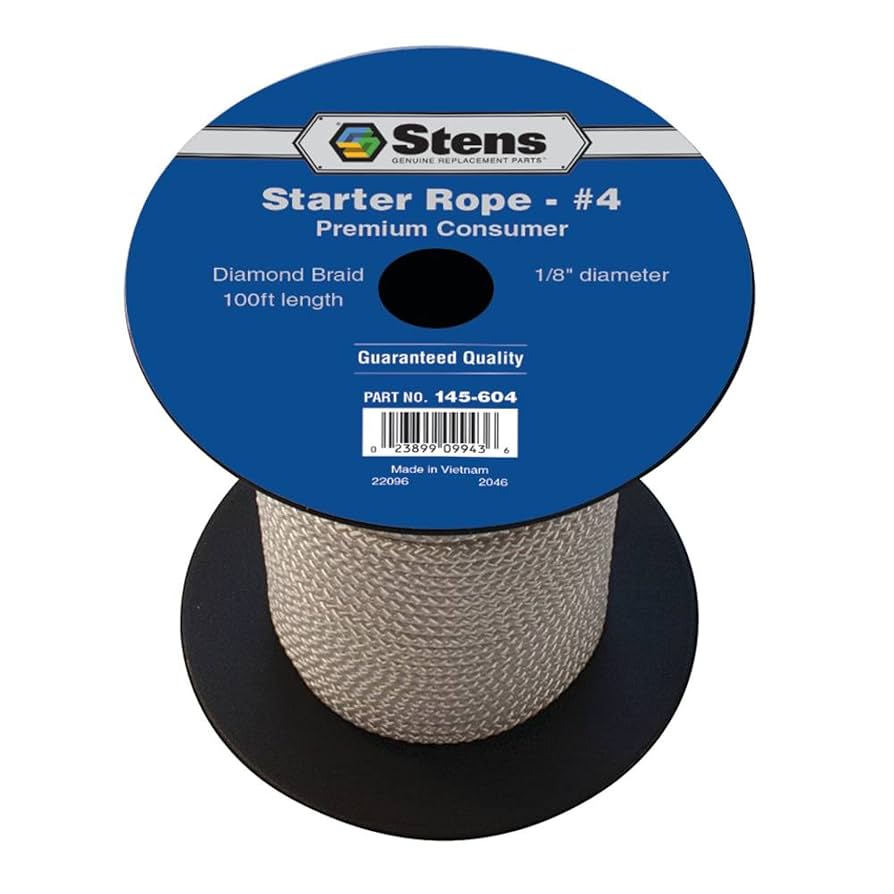
Credit: www.amazon.com
Maintenance Tips
Replacing a weed eater pull cord involves removing the old cord and threading a new one. Start by detaching the starter assembly, then carefully replace the damaged cord with a new, durable cord. Ensure the cord is securely fastened and tested before reassembling the unit.
Maintaining your weed eater is crucial for its longevity and efficiency. A well-maintained tool not only works better but saves you time and money on repairs. Whether you’re a seasoned gardener or just starting out, knowing how to care for your equipment makes a big difference. Let’s dive into some maintenance tips that will help you keep your weed eater pull cord in top shape.
Regular Inspections
Set aside time to check your weed eater before each use. Look for frayed cords or other signs of wear and tear. Catching these early helps prevent sudden breakages that can leave you stranded mid-job. Think about how often you actually check your tools. A quick inspection might reveal small issues that can be fixed with minimal effort. This proactive approach saves you from larger, more costly repairs down the line.
Proper Storage Techniques
After a long day of yard work, storing your weed eater properly is just as important as using it. Keep it in a dry, cool place to prevent moisture damage. Excessive heat or dampness can weaken the cord and other components. Are you storing your tools in the garage or shed? Make sure they’re elevated or hung up to avoid accidental damage. This little step can extend the life of your weed eater and keep it ready for action whenever you need it. By following these maintenance tips, you ensure your weed eater remains reliable and efficient. Regular inspections and proper storage are simple yet powerful strategies in your gardening toolkit. So, what are you waiting for? Give your tools the attention they deserve, and they’ll repay you with performance you can count on.
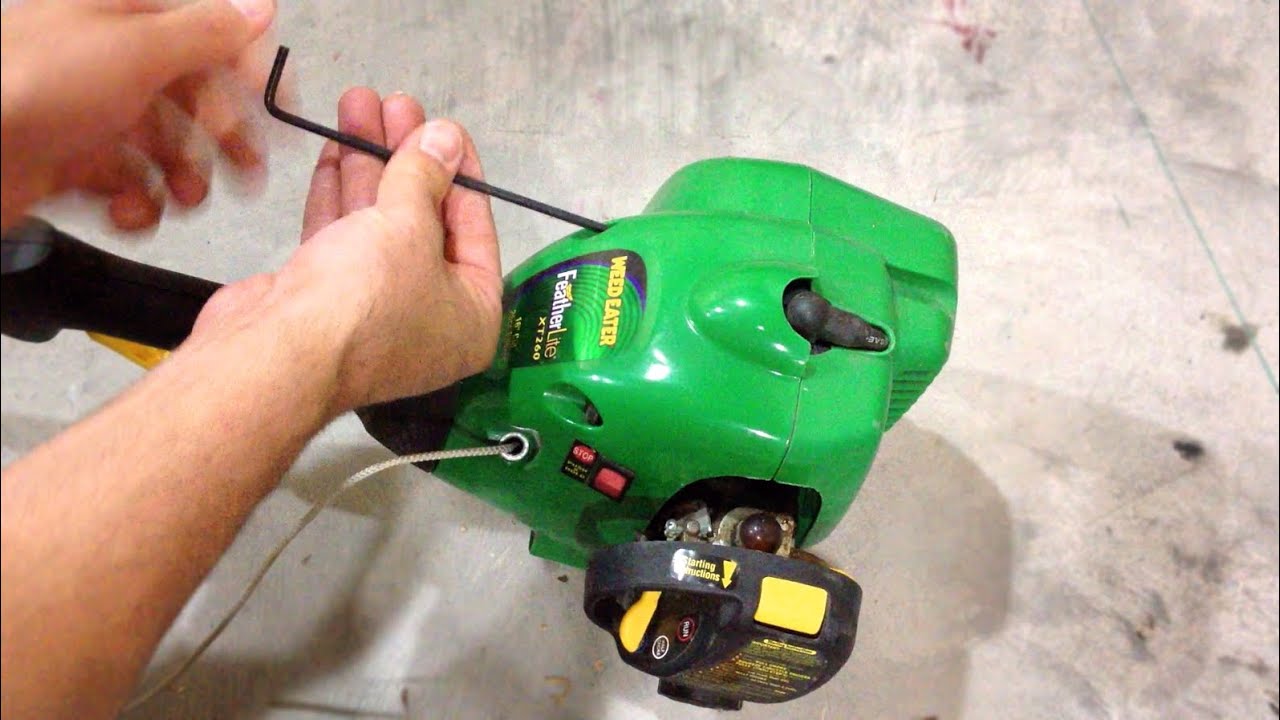
Credit: www.youtube.com
Frequently Asked Questions
How Do I Know If My Pull Cord Is Broken?
If your pull cord doesn’t retract or feels loose, it’s likely broken. You might also notice fraying or visible damage. Replacing it will restore your weed eater’s functionality. Regular inspection can prevent unexpected failures.
What Tools Are Needed To Replace A Pull Cord?
To replace a pull cord, you’ll need a screwdriver, pliers, and a replacement cord. These tools are essential for disassembling the weed eater. Having the right tools ensures a smooth replacement process.
How Long Does It Take To Replace A Pull Cord?
Replacing a pull cord usually takes about 30 minutes. This time includes disassembling, replacing, and reassembling the weed eater. Ensure you have all tools ready before starting to save time.
Can I Replace The Pull Cord Myself?
Yes, you can replace the pull cord yourself. With basic tools and a guide, it’s a straightforward process. DIY replacement saves money and ensures your weed eater is ready to use.
Conclusion
Replacing a weed eater pull cord seems tough, but it’s manageable. Follow these steps carefully. Gather the right tools. Watch for worn parts. Safety first—always wear gloves. Pull the cord gently. Avoid tangles. Check the spool for damage. New cord?
Ensure it’s secure. Test the weed eater before use. Regular maintenance helps prevent future issues. Keep your tools clean and ready. With practice, it gets easier. No need for professional help. You can do it. Enjoy a well-maintained garden. Happy trimming!


