
Are you curious about how to measure frequency using a multimeter? You’re in the right place.
This guide will walk you through the simple steps to unlock the full potential of your multimeter. Imagine being able to diagnose electrical issues with confidence, saving time and money. Whether you’re a seasoned electrician or just a DIY enthusiast, mastering this skill can empower you to tackle projects with ease.
Dive in to discover how this handy tool can transform the way you approach electrical challenges. Stay with us, and you’ll soon be measuring frequency like a pro!
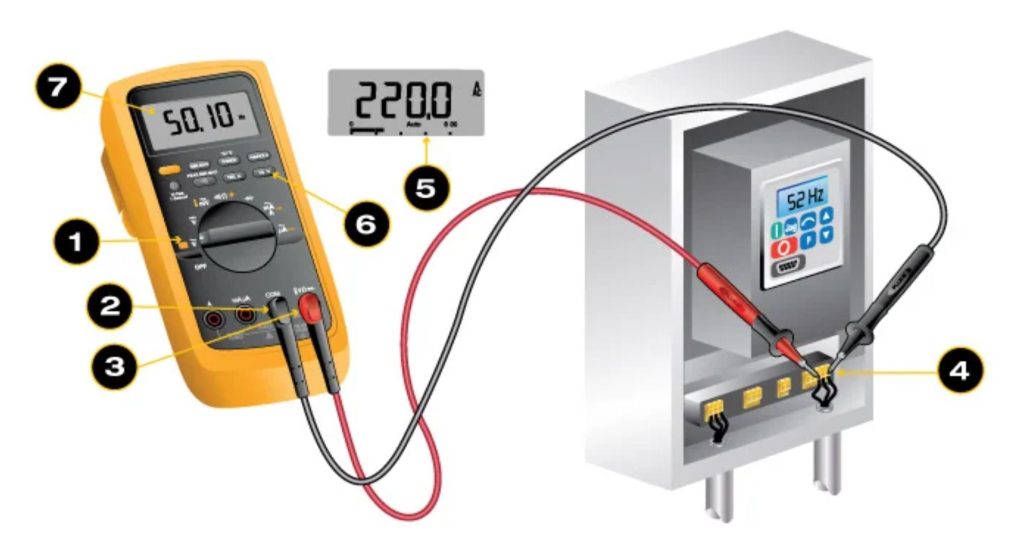
Credit: www.fluke.com
Basics Of Frequency Measurement
Understanding frequency measurement is essential in electronics. Frequency refers to how often a repeating event occurs in a second. Using a multimeter to measure frequency can help identify signal issues and ensure devices are working correctly.
Understanding Frequency
Frequency is expressed in hertz (Hz). One hertz equals one cycle per second. Common frequencies include radio waves, sound waves, and electrical signals. A multimeter can measure these frequencies accurately.
Why Measure Frequency?
Measuring frequency helps diagnose electronic problems. It checks if devices operate at the correct speed. This ensures the efficiency and safety of electronic systems.
There are analog and digital multimeters. Digital multimeters are more common. They offer precise readings and additional features. Choose one that suits your needs.
Setting Up The Multimeter
First, ensure your multimeter can measure frequency. Check the user manual for instructions. Set the multimeter to the frequency setting. Connect the test leads to the circuit.
Measuring Frequency
Place the test leads on the circuit points. Watch the multimeter display for the frequency reading. Note the value shown on the screen. Compare it with expected results to determine signal integrity.
Always follow safety guidelines when using a multimeter. Wear protective gear, if necessary. Ensure the device is switched off before connecting leads. This prevents electric shock or damage.
Types Of Multimeters
Understanding the types of multimeters is crucial for measuring frequency. Multimeters come in various types, each with distinct features and uses. They help in evaluating electrical properties like voltage, current, and frequency. The two main types are analog and digital multimeters. Each serves different needs and scenarios.
Analog Multimeters
Analog multimeters use a needle to display readings. They are simple and reliable. These multimeters show readings on a scale. Adjust the scale manually for precise measurements. Analog models are less expensive. They are suitable for basic electrical tasks. They require more skill to read accurately. The needle movement provides real-time feedback. This helps in observing changes instantly. Analog multimeters do not need a battery for measurements. But, they do need one for resistance readings. They are rugged and durable.
Digital Multimeters
Digital multimeters display readings in numbers. They are more accurate than analog types. These multimeters are user-friendly. They offer automatic range selection. This reduces manual errors. Digital models have a clear LCD screen. It shows precise readings instantly. They often come with extra features. Such as data hold, backlight, and auto shut-off. Digital multimeters need a battery to operate. They are suitable for beginners and professionals alike. Their design is modern and compact. They are ideal for detailed electrical analysis.
Selecting The Right Multimeter
Choosing the right multimeter is crucial for accurate frequency measurement. Check if the multimeter has a frequency measurement function. Ensure it suits your specific needs for electrical testing tasks.
Selecting the right multimeter is crucial when you want to measure frequency accurately. Not all multimeters are created equal, and some are better suited for frequency measurement than others. The right choice can save you time and ensure precise readings, making your work or hobby more enjoyable and efficient.
Key Features To Consider
When choosing a multimeter for frequency measurement, focus on a few key features. Accuracy is paramount; look for models with high precision ratings to ensure your readings are reliable. Range is another important factor, as you need a multimeter that can handle the specific frequency ranges you work with regularly. Ease of use can make a world of difference. Opt for a multimeter with a clear and intuitive interface. Auto-ranging features are also beneficial, as they automatically set the correct range for measurements, reducing the risk of errors.
Recommended Models
Several multimeters stand out for their frequency measurement capabilities. The Fluke 87V is a favorite among professionals for its reliability and accuracy. It offers a wide frequency range and is built to last, perfect for both fieldwork and bench work. For those on a budget, the Klein Tools MM700 provides excellent value. It’s user-friendly and includes auto-ranging, making it a great choice for beginners or those who only occasionally need to measure frequency. The Siglent SDM3045X is another excellent option, particularly for those working in more advanced applications. It offers high-resolution and precise measurements, ideal for detailed frequency analysis. What do you look for in a multimeter? The right tool can be a game-changer in how efficiently and accurately you can measure frequency. Choosing wisely can enhance both your experience and your results.
Safety Precautions
Measuring frequency using a multimeter might seem straightforward, but don’t let the simplicity fool you. Safety of using the multimeter should always be your priority. Even the most seasoned electricians can make mistakes if they overlook basic precautions. You wouldn’t want to discover your errors the hard way, right? Let’s make sure you’re fully equipped to handle this task safely.
Handling Electrical Equipment
Always treat electrical equipment with respect. Multimeters might not look dangerous, but improper handling can lead to serious accidents. You should always check the device’s voltage ratings before use. This ensures it can handle the frequency you’re measuring without any issues.
Keep your workspace tidy. Clutter can cause accidents or hinder your ability to focus. A clean work area minimizes distractions and helps you concentrate on the task at hand.
Don’t rush through the process. Hasty actions can result in mistakes or oversights. Take your time to carefully connect the multimeter to the circuit.
Protective Gear And Equipment
Wearing protective gear is not just a suggestion; it is a necessity. Safety goggles can protect your eyes from unexpected sparks or debris. A simple pair of gloves can guard against electric shocks.
Consider using insulated tools. These tools reduce the risk of electric shock, offering an extra layer of protection. They are especially useful if you’re working in a high-voltage environment.
Ensure that your multimeter is in good condition. Regular checks can help identify any faults before they become dangerous. Is your multimeter properly calibrated? If not, it might give inaccurate readings, leading to potential hazards.
Safety is not just about equipment; it’s about mindset. Approach each measurement with caution, and always ask yourself: “Have I taken every possible precaution?” This simple question could save you from a costly mistake.
Preparing The Multimeter
Measuring frequency with a multimeter requires careful preparation. Proper setup ensures accurate readings. Before starting, familiarize yourself with the device’s manual. Understanding basic functions is crucial.
Setting Up The Device
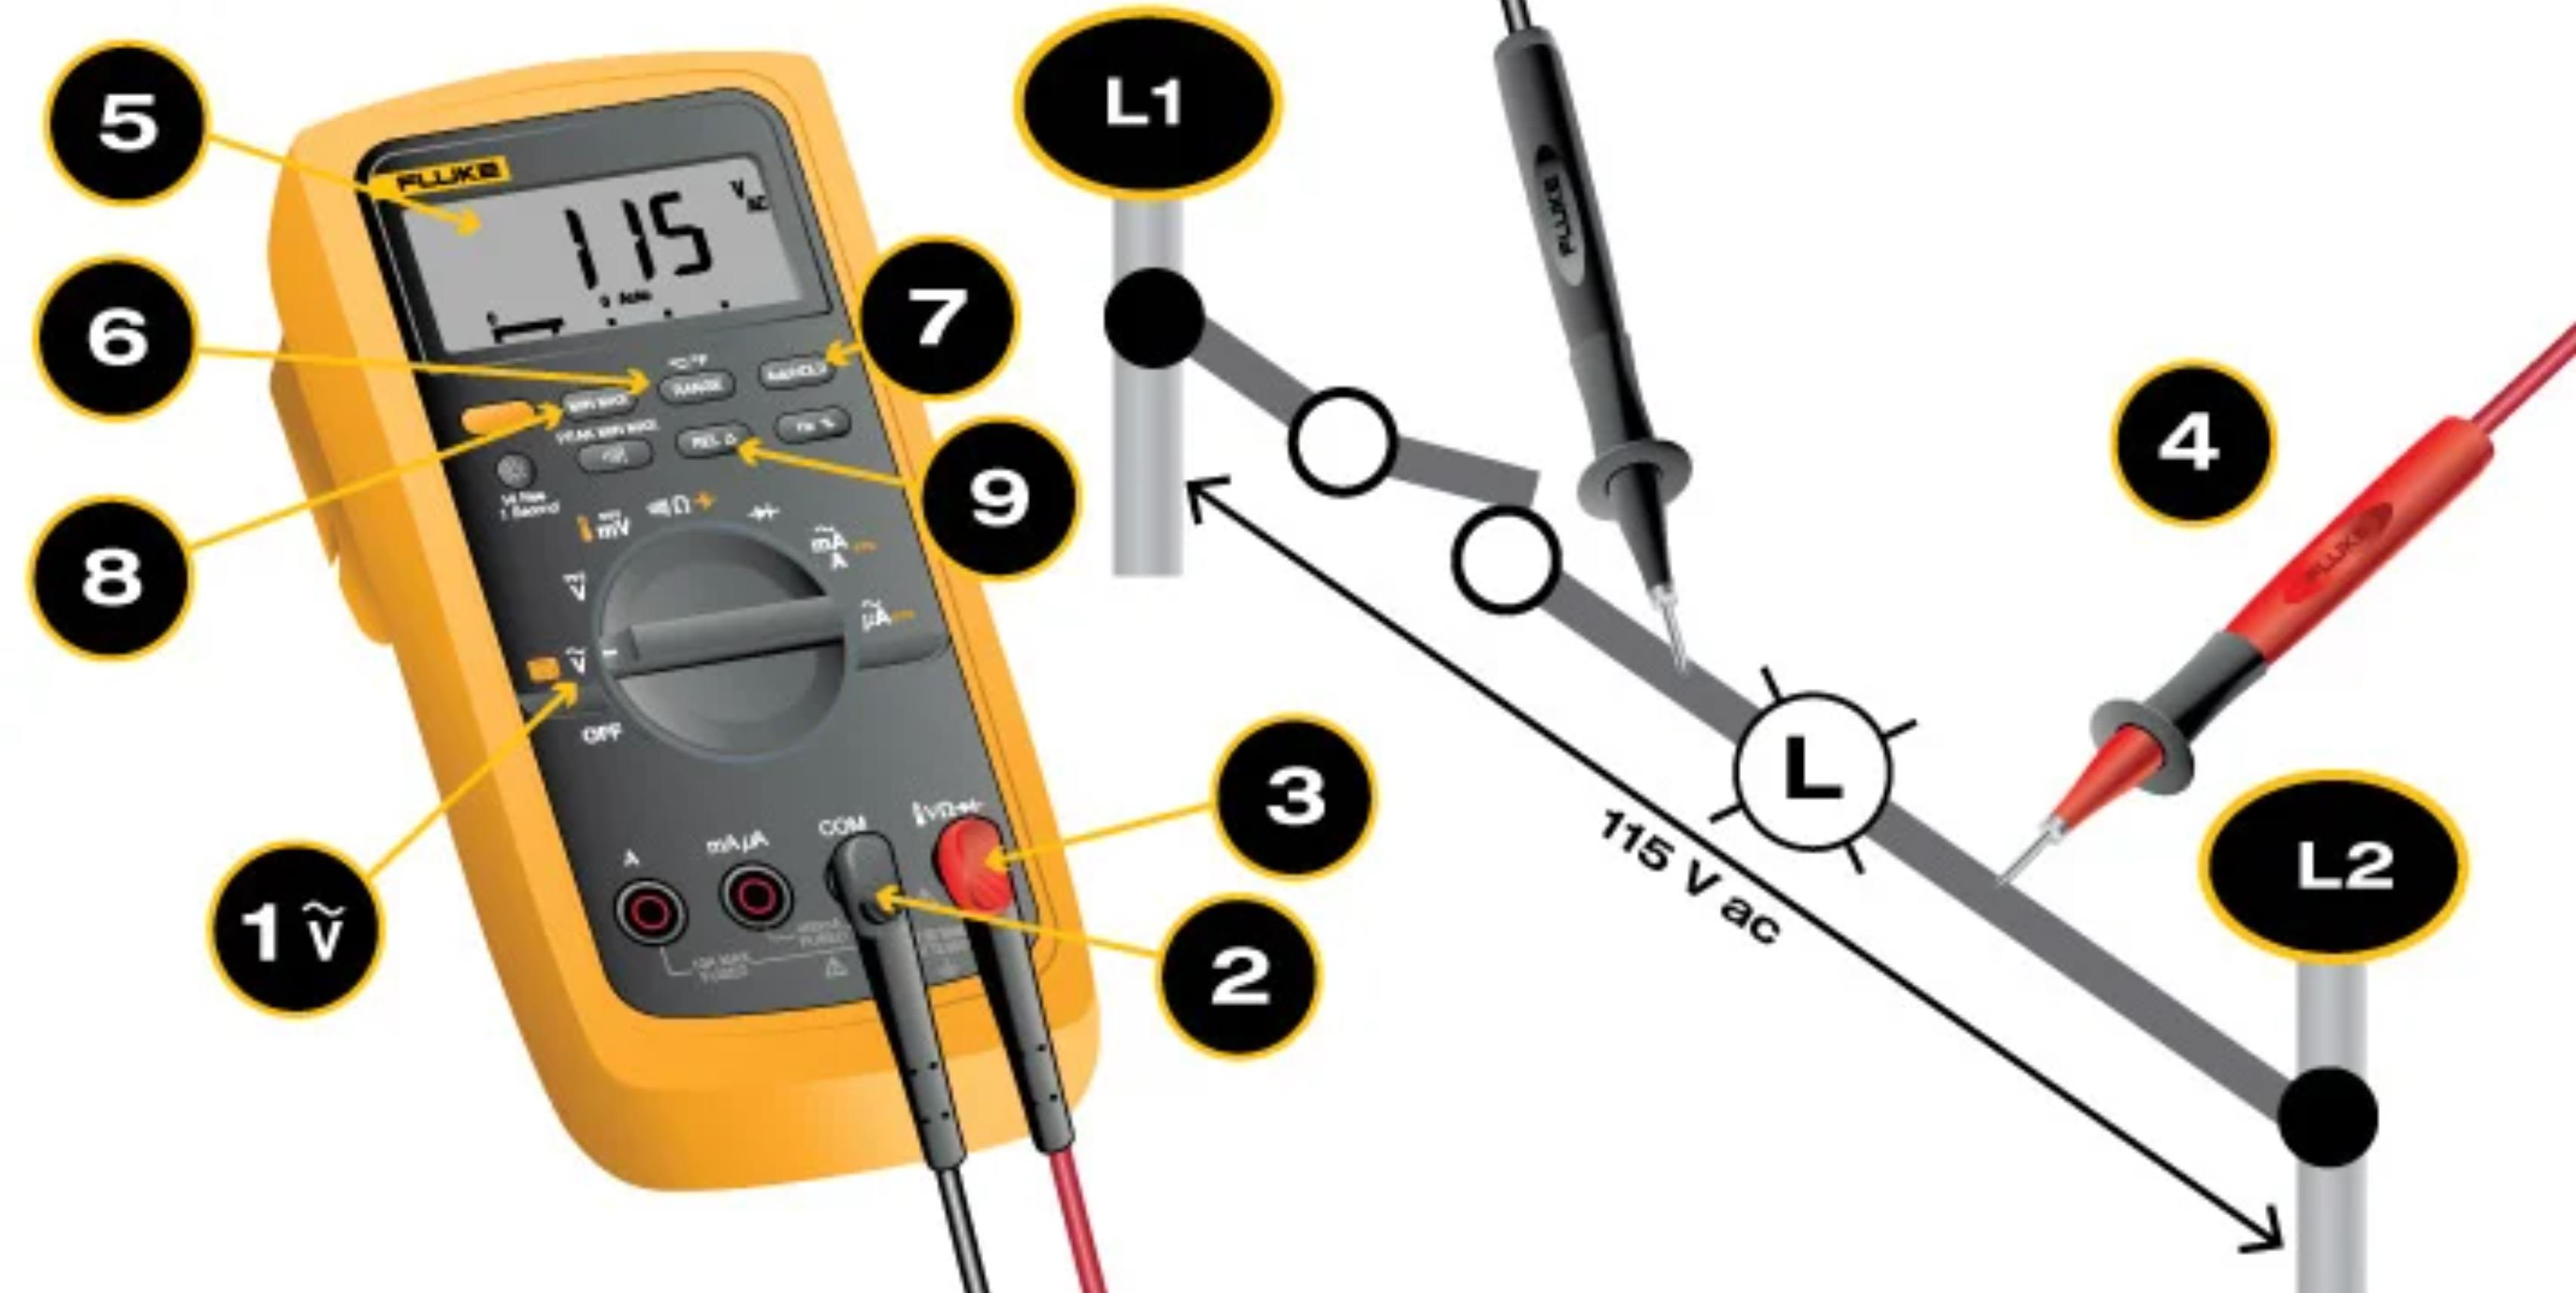
First, gather necessary tools. You need the multimeter, leads, and a power source. Connect the leads to the multimeter. Ensure they are securely attached. The black lead goes into the common port. The red lead goes into the voltage port. This setup is essential for accurate measurements.
Calibration Steps
Calibration is vital for precise results. Start by turning the multimeter on. Set it to the frequency mode. Check the display for errors. Adjust settings if needed. Follow the manufacturer’s instructions for calibration. This ensures the device is ready for use.
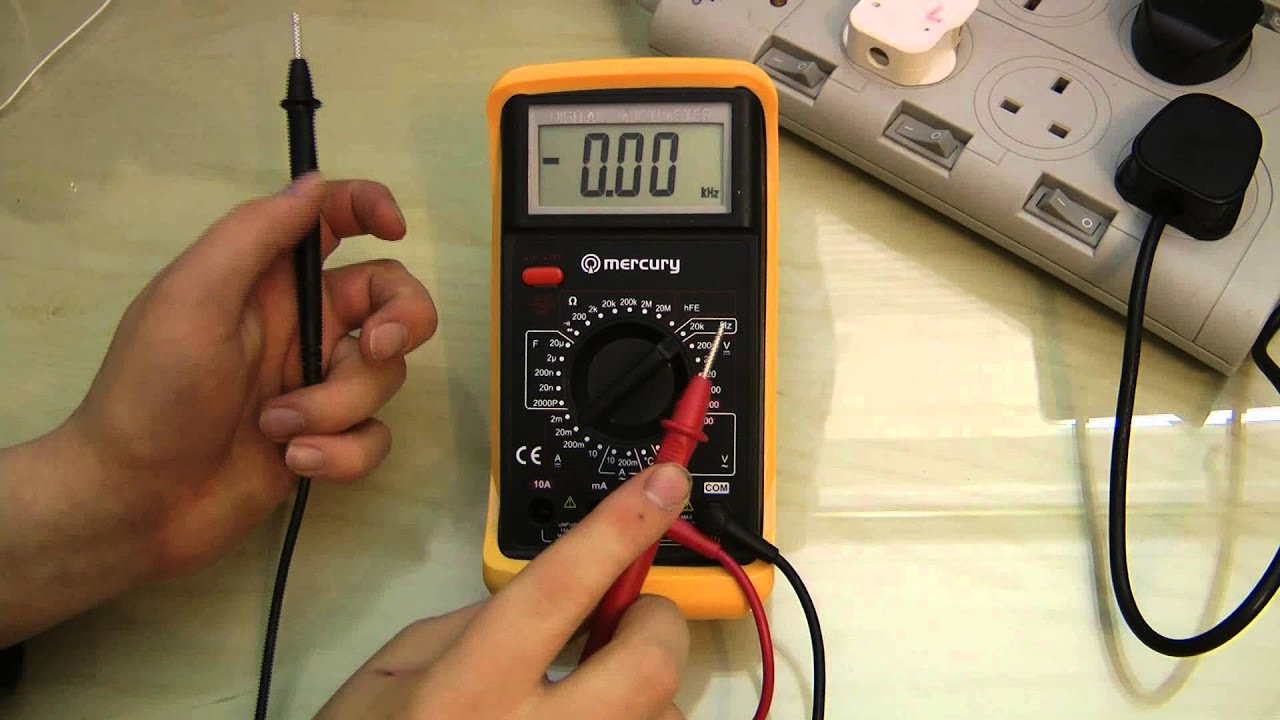
Credit: www.youtube.com
Connecting The Multimeter
Connecting the multimeter correctly ensures accurate frequency measurements. This step is crucial before diving into probing techniques. A secure connection avoids common errors and misreadings.
First, gather your multimeter and the test leads. Ensure all connections are tight and secure. Loose connections lead to inaccurate readings.
Probing Techniques
Proper probing techniques are essential for precise measurements. Start by inserting the black test lead into the COM port.
Insert the red test lead into the V/Ω port. This setup is standard for most multimeters.
Touch the probe tips to the test points. Ensure firm contact with the circuit.
Avoiding Common Errors
Avoid common errors during measurement. Double-check connections before taking readings.
Incorrect probe placement often leads to inaccurate results. Always confirm the multimeter is set to the correct mode.
Ensure no external interference affects readings. Keep the area clear of unnecessary electronic devices.
Reading And Interpreting Results
Reading and interpreting results on a multimeter is crucial for accuracy. Understanding these readings ensures you get reliable data. Let’s explore how to read and interpret these results effectively.
Understanding Display Readings
Look at the multimeter screen carefully. It shows numbers and units. These numbers represent frequency in hertz (Hz). The display might also have symbols. These symbols help identify the mode. Ensure the multimeter is set to frequency mode. Check the unit of measurement. It’s usually indicated by “Hz” on the display. A stable reading indicates a constant frequency. If numbers fluctuate, check connections. A steady display means accurate results. Note the readings for reference.
Troubleshooting Inaccurate Measurements
Inaccurate readings can occur. First, check the connections. Ensure wires are secure. Loose connections lead to errors. Next, verify the multimeter settings. Wrong settings cause incorrect data. Double-check the mode. It must be set to measure frequency. Inspect the probes. Damaged probes give false readings. Replace if necessary. Ensure the circuit is stable. Unstable circuits affect accuracy. Consider the environment too. External factors can cause noise. Move away from large electronic devices. This reduces interference. Following these steps ensures precise frequency measurement.
Applications Of Frequency Measurement
Understanding frequency measurement is crucial in various fields. Using a multimeter simplifies this process. Frequency measurement has diverse applications in electronics and industry.
Common Uses In Electronics
Frequency measurement plays a vital role in electronics. It helps analyze signal patterns in circuits. Engineers use it to troubleshoot radio and audio devices. This ensures optimal performance. Measuring frequency aids in designing oscillators and timers. It provides insights into circuit behavior. Frequency checks ensure devices meet standards. Multimeters make this task easier.
Industrial Applications
Industries rely heavily on frequency measurements. It monitors machinery and equipment performance. Engineers assess motor speeds using frequency data. This prevents mechanical failures. Frequency measurement aids in controlling production processes. It helps maintain consistency and quality. Multimeters are essential for such checks. They ensure accurate readings. This supports efficient industrial operations.
Tips For Accurate Measurements
Learn how to measure frequency using a multimeter accurately. Begin by setting your multimeter to the frequency setting. Connect the probes to the circuit. Read the frequency value displayed. Always ensure the multimeter is calibrated for precision. This process helps in achieving reliable results every time.
Measuring frequency using a multimeter can be straightforward, yet ensuring accuracy requires attention to detail. Have you ever wondered why your frequency readings might seem off? This guide will delve into practical tips that can help you achieve precise measurements. Let’s explore how you can enhance the accuracy of your frequency readings and avoid common pitfalls.
Environmental Considerations
The environment around you can influence your readings significantly. Are you working in an area with high electromagnetic interference? Such interference can distort readings. Try to conduct measurements in a space away from electrical devices that emit strong signals. Temperature is another factor. Extreme heat or cold can affect the multimeter’s performance. It’s best to operate in a room-temperature environment. This simple step can make a notable difference in your results.
Maintaining Multimeter Accuracy
Keeping your multimeter in top shape is crucial. Regular calibration is key. When was the last time you calibrated your device? An uncalibrated multimeter can give inaccurate readings, leading to potential errors in your projects. Ensure the probes are clean and undamaged. Dust and wear can lead to faulty connections. Inspect your probes before each use and replace them if they show signs of wear. Store your multimeter properly. Avoid damp or dusty environments that could damage the device. Investing in a protective case can be a wise choice to extend its lifespan. By considering these factors, you can ensure that your frequency measurements remain precise and reliable. What steps will you take to enhance your measurement accuracy?
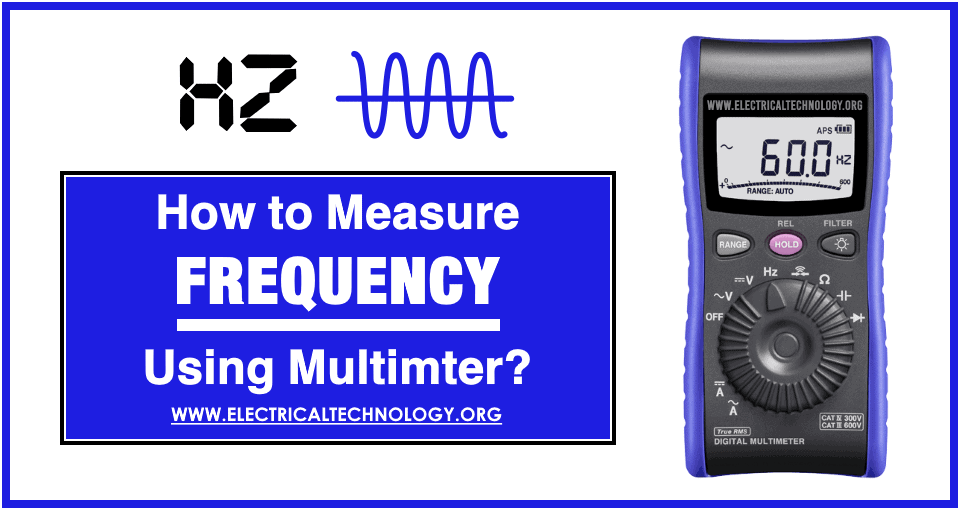
Credit: www.electricaltechnology.org
Frequently Asked Questions
What Is Frequency On A Multimeter?
Frequency on a multimeter measures how often a repeating event occurs per second. It’s expressed in Hertz (Hz). To measure frequency, set your multimeter to the frequency setting, connect probes to the circuit, and read the displayed value. This helps in analyzing electronic signals and components.
How To Set Multimeter For Frequency Measurement?
To set a multimeter for frequency measurement, turn the dial to the Hz setting. Ensure the probes are correctly connected to the circuit. Some multimeters require selecting the AC voltage setting first. Consult your multimeter’s manual for specific instructions and ensure correct probe placement.
Can All Multimeters Measure Frequency?
Not all multimeters can measure frequency. Digital multimeters with advanced features typically offer frequency measurement. Always check the specifications before purchasing. If frequency measurement is a required feature, ensure the multimeter includes a dedicated frequency setting or an AC voltage setting with frequency measurement capabilities.
Why Measure Frequency With A Multimeter?
Measuring frequency with a multimeter helps diagnose circuit issues and verify signal stability. It’s essential in audio, RF, and oscillating circuits. Accurate frequency measurements ensure devices operate within specifications, preventing malfunctions. Understanding frequency is crucial in electronic design, troubleshooting, and maintenance.
Conclusion
Measuring frequency with a multimeter is straightforward. Start by selecting the correct setting. Connect the probes to your device. Read the displayed frequency value. It helps ensure accurate measurements in electronics. Multimeters are versatile tools. They simplify frequency checks. No need for complex devices.
Essential for troubleshooting electrical issues. They are reliable and easy to use. This skill is valuable for any electronics enthusiast. Practice regularly for better accuracy. Understanding your multimeter boosts confidence. It makes frequency measurement a breeze. Enjoy exploring your multimeter’s capabilities.
Happy measuring!


