
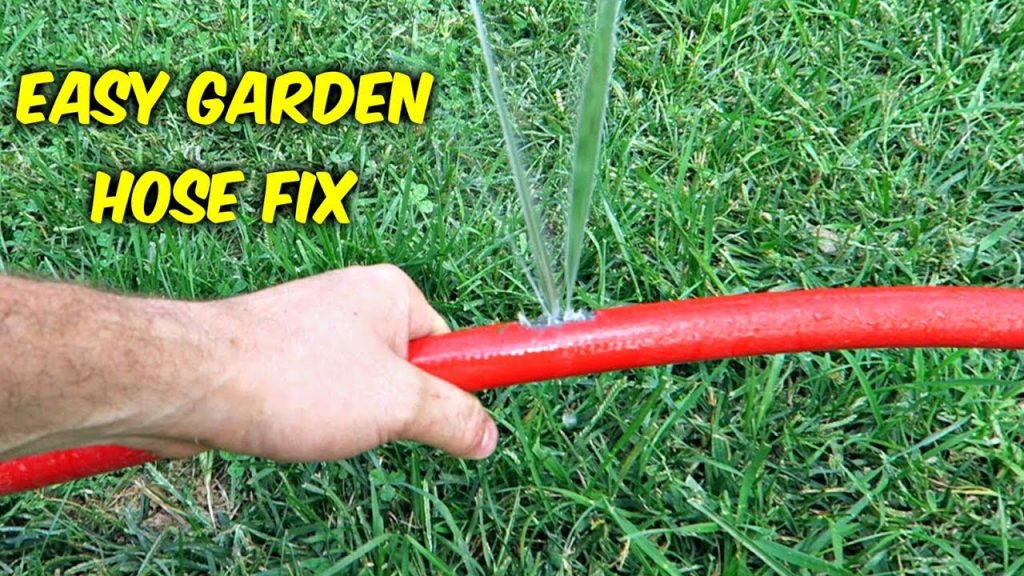
Picture this: you’re all set to water your beautiful garden, and just as you turn on the faucet, you notice water spraying everywhere but your plants. Your trusty garden hose has sprung a leak.
Frustrating, right? But before you rush to buy a new one, did you know you can easily patch it up yourself? Yes, you can turn this minor setback into a simple DIY victory, saving you money and extending the life of your hose.
In this guide, we’ll walk you through the steps to patch your garden hose efficiently. You’ll learn how to identify the leak, choose the right materials, and apply them for a long-lasting fix. With the right approach, you’ll be back to nurturing your garden in no time. Ready to reclaim your hose and restore your gardening routine? Let’s dive in!
Identifying The Leak
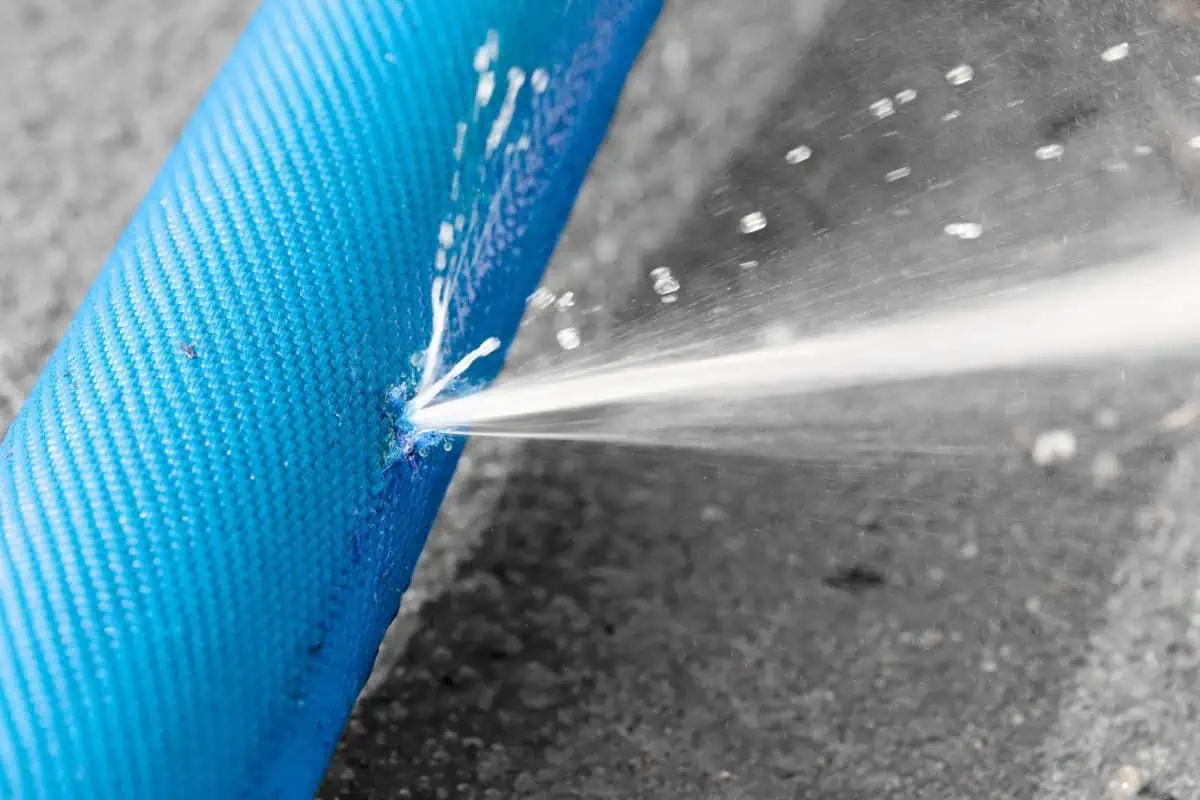
Identifying the leak in your garden hose can save time and resources. A small crack or hole can waste water and reduce efficiency. You’ll need to inspect the hose carefully to find the problem. This process involves a bit of patience and attention to detail.
Locating The Source
Begin by laying the hose flat on the ground. Turn on the water gently and watch closely. Look for areas where water sprays out or drips steadily. Gently run your hand along the hose to feel for moisture. This tactile method helps locate hidden leaks. Make sure to check the entire length of the hose, including connectors.
Types Of Hose Damage
Hose damage can vary, affecting how you patch it. Common types include small pinholes, which are often caused by thorns. Larger tears might occur from sharp objects or heavy pressure. Cracked hoses usually result from prolonged sun exposure or extreme cold. Each type requires a different approach for effective repair.
Gathering Necessary Tools
Patching a garden hose is a simple DIY task. It saves time and money. Before starting, gather all the necessary tools. This ensures a smooth and quick repair process. Having the right tools on hand makes the task easier. Let’s explore what you’ll need.
Essential Materials
First, you’ll need a patch kit. These kits often include adhesive and patches. Choose a kit suitable for your hose type. Scissors are also essential. You’ll use them to cut the patch to size. Sandpaper is useful too. It helps roughen the hose surface for better adhesion. A clean cloth is necessary to wipe the hose dry. Finally, have a bucket of water ready. It helps test the patch after application.
Optional Add-ons
Consider using a sealant for extra strength. It can provide additional waterproofing. Some prefer clamps to secure the patch. Clamps can enhance the patch’s durability. Gloves might be useful. They protect your hands from adhesive. A small brush can help apply the adhesive evenly. These add-ons are not mandatory. But they can make the repair more effective.
Preparing The Hose
Start by turning off the water supply and disconnecting the hose. Clean the damaged area with soap and water. Ensure the surface is dry and smooth before applying any patching material.
Preparing your garden hose for patching is an essential step that ensures the repair process is smooth and effective. Before you jump into fixing that pesky leak, you need to set the stage for success. Taking a few preparatory steps can make a big difference in how well your patch job holds up. Let’s dive into the process of getting your hose ready for repair.
Draining Water
First things first, you need to get rid of any water inside the hose. Leaving water in the hose can make it slippery and difficult to handle. To drain the water, disconnect the hose from any water source and stretch it out on a flat surface. Lift one end of the hose and walk toward the other end, allowing gravity to pull the water out. If you’ve ever tried patching a hose while it’s still full of water, you know it’s a recipe for frustration. Once drained, you’re ready for the next step.
Cleaning The Area
Now that the hose is empty, it’s time to clean the area around the leak. Dirt and grime can prevent the patch from sticking properly. Use a clean cloth with some mild soap and water to gently scrub the area. Rinse off any soap residue and dry the area thoroughly. You might be surprised at how much grime can accumulate on a garden hose. A clean surface is crucial for a successful patch, ensuring that the repair material adheres well. Taking the time to properly prepare your hose might seem like an extra step, but it’s well worth it. Have you ever patched a hose only to find it leaking again the next day? Proper preparation could be the secret to a lasting repair. By following these steps, you’re setting yourself up for a successful patch job that will save you both time and frustration. So, grab your hose, and let’s get started on making it as good as new!
Credit: prohomemi.com
Using A Hose Repair Kit
Patch a garden hose easily with a hose repair kit. Cut the damaged section, then use connectors to secure the repair. A quick fix restores water flow efficiently, saving time and money.
When your garden hose springs a leak, it can throw a wrench into your gardening plans. But before you rush out to buy a new one, consider using a hose repair kit. These kits offer a budget-friendly and environmentally conscious way to extend the life of your existing hose. Plus, the satisfaction of fixing something with your own hands is immensely rewarding. Let’s dive into the simple process of using a hose repair kit.
Selecting The Right Kit
Choosing the correct hose repair kit is crucial for a successful fix. Kits typically include a coupler, clamps, and sometimes a cutter. Ensure the kit matches the diameter of your hose, usually indicated in inches on the packaging. Consider the material of your hose. If it’s rubber, you’ll need a kit specifically designed for rubber hoses. Read the product descriptions carefully to avoid buying something incompatible.
Step-by-step Instructions
Getting hands-on with your repair kit is easier than you might think. Start by cutting out the damaged section of the hose using a sharp knife or the cutter provided in the kit. Ensure the cuts are clean and straight for a snug fit. Next, insert the coupler into one end of the hose. Push it in firmly, ensuring it’s secure. Repeat this on the other side with the remaining hose piece. Now, slide the clamps over the hose and position them over the ends where the coupler is inserted. Tighten the clamps using a screwdriver to prevent any leaks. Make sure they are snug but not overly tight to avoid damaging the hose. Finally, test your repair by turning on the water. Check for any leaks around the coupler. If everything is dry, you’ve successfully repaired your garden hose. Isn’t it satisfying to fix something yourself? Repairing your hose can be a quick and fulfilling project. Plus, it’s a handy skill to have as a gardener. Have you ever tried fixing a hose before? What was your experience like?
Applying A Hose Clamp
Using a hose clamp can effectively patch a garden hose. First, locate the leak and dry the area. Next, place the clamp over the hole and tighten it securely to stop the water leak. This quick fix helps extend the life of your garden hose.
Applying a hose clamp is a straightforward yet crucial step in patching a garden hose. It’s the part where you ensure your repair is secure and durable. Ever patched a hose only to find the leak persists? The clamp might be the missing piece. A simple tool can make the difference between a lasting solution and a temporary fix. Let’s dive into how you can choose the right clamp and secure it properly.
Choosing The Right Clamp
You might wonder why selecting the right clamp is so important. The clamp should fit snugly around the hose without being too tight. A clamp that’s too small won’t hold, while one that’s too large might not apply enough pressure. Consider the material. Stainless steel clamps offer durability and resistance to rust. They’re ideal for outdoor use. Have you ever seen a rusty clamp fall apart? That’s what you want to avoid. Size matters. Measure your hose diameter before heading to the store. This ensures you pick a clamp that fits perfectly. A properly sized clamp holds everything in place without damaging the hose.
Securing The Clamp Properly
Once you’ve got the right clamp, securing it properly is the next step. Position the clamp over the patched area. Make sure it covers the hole and any repair materials fully. Use a screwdriver to tighten the clamp. Turn until it feels snug but not overly tight. Have you ever stripped a screw by over-tightening? The same risk applies here. Test your work. Turn on the water and check for leaks. A well-secured clamp should stop any water from escaping. If there’s still a leak, adjust the clamp or consider a different size. Patching a garden hose can save you time and money. A small tool like a hose clamp plays a big role in ensuring your repairs last. Next time you’re in the garden, think about how this simple step could be the key to a leak-free experience. What kind of clamps do you have in your toolbox? Are they up to the task?
Credit: greenwoodhardware.com
Replacing A Damaged Section
Garden hoses can suffer from wear and tear. Over time, sections of the hose may become damaged. Replacing a damaged section is a practical solution. This method extends the life of your garden hose. It’s simple and cost-effective.
Cutting Out The Damage
Identify the damaged section of your garden hose. Use a marker to outline the area. This ensures accurate cuts. Take a sharp pair of scissors or a utility knife. Carefully cut out the damaged section. Make sure the cuts are clean and straight. This prevents leaks in the future.
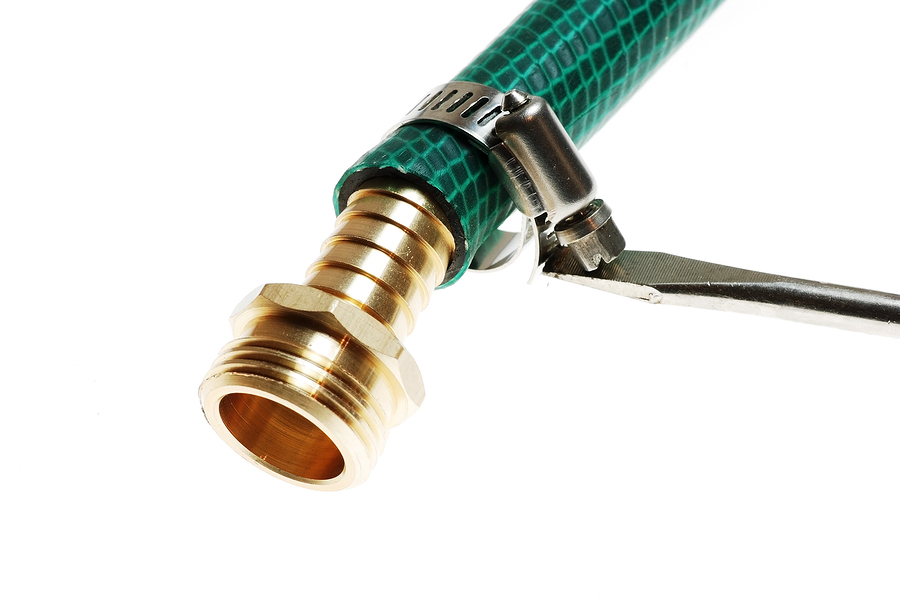
Connecting New Pieces
Get a hose repair kit from a hardware store. These kits include connectors and clamps. Insert the connector into one end of the hose. Secure it with a clamp. Repeat this on the other end. Connect both ends using the connector. Tighten the clamps to prevent leaks. Check the connection for any gaps. Ensure a tight seal for best results.
Testing The Repair
Fixing a garden hose requires testing the repair to ensure no leaks remain. Turn on the water and inspect the patched area closely. Confirm water flows smoothly through the hose without any drips or sprays, ensuring a reliable fix.
Testing the repair is a crucial step in patching a garden hose. It ensures the fix holds and the hose functions properly. A simple test can save you from future leaks. Let’s dive into the steps needed to confirm your repair’s success.
Checking For Leaks
Connect the hose to a water source. Slowly turn on the water. Observe the patched area closely. Look for any drips or beads of water. Inspect the hose fully. Ensure no leaks occur elsewhere. A leak-free hose is the goal.
Final Adjustments
If leaks appear, adjust the patch. Tighten clamps or tape. Ensure full coverage of the damaged spot. Test the hose again. Repeat until no leaks are visible. Your garden hose should now be ready for use.

Credit: www.youtube.com
Maintaining Your Garden Hose
Fixing a garden hose is easy and extends its life. Start by locating the leak and drying the area. Use a hose repair kit to patch it up, ensuring a snug fit. Secure with clamps for a tight seal. Regular maintenance prevents further damage and keeps your garden lush.
Maintaining your garden hose is crucial for ensuring its longevity and effectiveness. A well-cared-for hose can save you time, money, and frustration. Imagine you’re watering your garden, but suddenly, a leak sprays water everywhere. With proper maintenance, you can prevent such mishaps. Let’s dive into how regular inspections and proper storage can keep your garden hose in top shape.
Regular Inspections
Regularly inspecting your garden hose can help catch small issues before they become big problems. Look for cracks, leaks, or signs of wear. Run your fingers along the hose’s length to feel for weak spots. Use a flashlight if necessary to spot hidden damages. Check the hose connections and fittings. Make sure they are tight and not rusty. A loose fitting can cause leaks, wasting water and reducing pressure. Tighten them with a wrench if needed, or replace any damaged washers. Think about the last time you checked your hose. Was there a surprising find that saved you from a disaster? Regular inspections can turn potential headaches into simple fixes.
Proper Storage Techniques
Storing your garden hose properly is as important as using it. Avoid leaving it out in the sun or cold for extended periods. Extreme temperatures can weaken the material, causing cracks and leaks. Consider using a hose reel or holder. This keeps the hose coiled neatly and prevents kinks. Kinks can restrict water flow and lead to damage. Unwind it carefully before use to maintain its shape. Find a sheltered spot for storage, like a garage or shed. A dry, cool place protects the hose from the elements. This simple step can extend its life significantly. Do you often find your hose tangled or damaged due to improper storage? Changing your storage habits can make a big difference. Maintaining your garden hose with regular inspections and proper storage techniques can save you time and effort in the long run. It ensures your garden remains lush and healthy, without unexpected interruptions. What’s your current hose maintenance routine? Could a few adjustments improve your gardening experience?
Frequently Asked Questions
How Do I Find A Leak In My Hose?
To find a leak, first, fill the hose with water. Then, run your hand along the hose to feel for any wet spots or listen for hissing sounds. Mark the spot once you locate the leak. Ensure the hose is completely dry before attempting to patch it.
What Tools Do I Need To Patch A Hose?
To patch a hose, you’ll need a hose repair kit, which usually includes a connector, clamp, and tape. You might also need a utility knife to cut the hose and a screwdriver to tighten the clamps. These tools help ensure a secure and lasting repair.
Can Duct Tape Fix A Garden Hose?
Duct tape can temporarily fix a garden hose but is not a permanent solution. It might work for small leaks or tears but lacks durability. For a more reliable repair, use a hose repair kit. These kits provide a long-lasting solution, ensuring your hose functions efficiently.
How Often Should I Check My Hose For Leaks?
Regularly check your garden hose for leaks, ideally before each use. Frequent inspections help catch issues early, preventing larger problems. Look for any visible damage or leaks by filling the hose with water and listening for hissing sounds. Early detection ensures efficient water usage.
Conclusion
Fixing a garden hose is simple and practical. Anyone can do it with the right tools. Always check for leaks before starting. Clean the area to remove dirt and debris. Use a patch or tape for small holes. Bigger holes might need a replacement piece.
Regular maintenance extends your hose’s life. Save money by patching instead of buying new. Enjoy your garden with a fully functional hose. Remember to store it properly after use. These steps ensure your hose stays in great condition. Happy gardening!


